Laser Precision Embroidery: Tips and Tools for Perfect Alignment
If you're an embroidery enthusiast, you know the importance of precise alignment when it comes to creating impeccable designs on fabric. Achieving that level of accuracy can be challenging, especially when you're working with larger projects or continuous embroidery. But, with the right tools and techniques, laser precision is within reach. In this article, we'll explore some tips and tools that can help you achieve perfect alignment on all your embroidery projects.
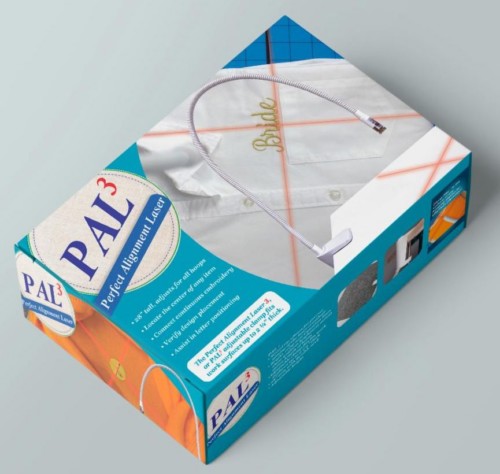
Perfect Alignment Laser: The Ultimate Tool for Precision Embroidery
The Perfect Alignment Laser (PAL) is an indispensable tool for embroidery enthusiasts looking to achieve laser precision. The latest addition to the PAL family, PAL3, comes equipped with several features that make it an ideal choice for anyone looking for seamless alignment.
Adjustable Lamp Head: PAL3's adjustable lamp head allows you to easily adjust the angle of the laser beam, ensuring that you have a clear line of sight on your project.
Swivel Tip: PAL3's swivel tip allows for precise aiming of the laser crosshair, so you can quickly and easily align your fabric for perfect placement.
Adjustable Clamp: PAL3's adjustable clamp fits table surfaces up to 2 ¼” thick, making it versatile and easy to use.
Flexible Arm: With a 28" arm and a flexible neck, the PAL3 is highly adjustable and can be positioned to suit any embroidery project.
USB Power Adaptor: PAL3 comes with a USB power adaptor, so you can use it without worrying about battery life.
Non-Gaussian Lines: PAL3's bright, crisp, non-Gaussian lines show uniform brightness across the entire length of the beam, ensuring that you have a clear view of your project.
Using PAL3 for Perfect Alignment
You can use PAL3 in a variety of ways to achieve perfect alignment on your embroidery projects. Here are a few tips and techniques to get you started.
Connecting Continuous Designs for embroidery: Use PAL3 to connect continuous embroidery designs by lining up the placement marks on the fabric with a printed adhesive template. Once aligned, use the beam to position the fabric on your embroidery hoop.
Positioning Letters: When working with ribbon or other projects that require lettering to be split to fit the hoop, print the letters on Print & Stick Target Paper, and adhere them to the fabric using the beam to line up the bottom of the lettering. Place the ribbon or fabric on the hoop, attach it to your machine, and you're good to go.
Hooping Station: Use PAL3 attached to the Totally Tubular Hooping Station for hooping many embroidery projects such as bags and baby onesies.
Conclusion
With the Perfect Alignment Laser PAL3, achieving laser precision in your embroidery projects has never been easier. By using the adjustable lamp head, swivel tip, adjustable clamp, flexible arm, and USB power adaptor, you can achieve perfect alignment on any embroidery project. By following the tips and techniques outlined in this article, you'll be able to create seamless designs for embroidery that are sure to impress. Happy embroidering!
Comments
Last photos
All photos in Gallery