Owl embroidered cushion
Sick with the way your room looks? Want to redecorate without spending too much money? Start with DIY throw pillows. You may create a pillow cover by yourself or customize a ready one. You’ll need two rectangular pieces of fabric or a ready pillowcase, a stabilizer, some embroidery threads, scissors, measuring tape, pins, a zipper, and an erasable pen.
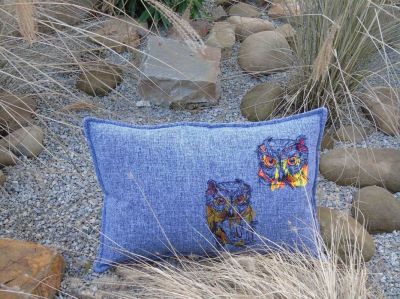
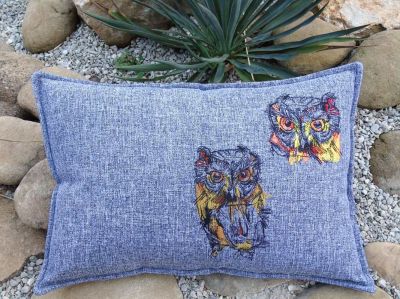
Oh, and, of course, the design. We have this cute owl embroidery design for you that will look just wonderful on a sole-colored fabric.
Unlike bed pillowcases, machine-embroidered cushions or throw pillows are not regularly washed. Therefore, one can use interesting-looking embroidery threads, like metallics or variegated threads.
You can make a zippered pillow or a simple slip-over one. Keep in mind that a zipper should be at least as long as one side of the pillow. If it is too long, you can always cut the excess and secure the end with a couple of backstitches.
First of all, fold your fabric in two and draw a square with an erasable pen or chalk. (Two different fabrics may be used for the front and the back). Don’t forget to leave a ½ inch for seam allowance. The most popular sizes for throw pillows are 18 x 18’’ and 20 x 20’’, but there are also larger ones, 22 x 22’’ and 24 x 24’’.
Now, take one of your square pieces place your pattern where you want the Owl embroidery designs to be, and mark the center and the horizontal axis lines. Spray a piece of a cutaway or a tearaway stabilizer with a temporary spray adhesive and place it on the wrong side of the fabric. Hoop the whole thing and pull it tight all along the perimeter to smooth the wrinkles. Attach your hoop to your embroidery machine, position the needle right above the center, and hit the start button.
Once the machine has finished stitching, take the hoop out and remove the excess stabilizer with your scissors. Unhoop the fabric and fold the seam allowance to the wrong side. Secure it with pins. After that, pin one side of the zipper to the folded edge, as close to the zipper teeth as possible. Change your regular foot to the zipper foot and stitch it.
Now, take the second square piece of fabric, pin it to the zipper on the other side, and stitch. To ensure extra stability, backstitch at the beginning and the end. Remove the pins.
Take your two pieces of fabric, joined with a zipper, and fold them with their wrong sides out. Unzip your zipper a bit so that you can open the pillowcase later. Stitch the three remaining sides of your pillow. Snip the corners, but be careful so as not to cut the thread! Congratulations, you’ve made an embroidered pillowcase! Unzip it and turn it to the right side. Fit your old pillow into it.
A useful tip: to make your throw pillow puffy, stuff a bigger pillow into a smaller pillowcase.
Comments